Last updated: 11 years ago
Assuming you have Woocommerce and the new FoodPress Online Ordering Addon installed, let’s begin the steps below to set up some Variations in your online ordering menu.
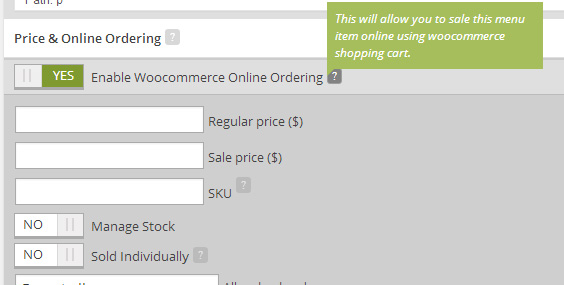
Create or edit an existing Menu item. Once you fill out all the options for your Menu item, scroll to the ‘Price & Online Ordering’ section and activate the option to ‘Enable Woocommerce Online Ordering’.
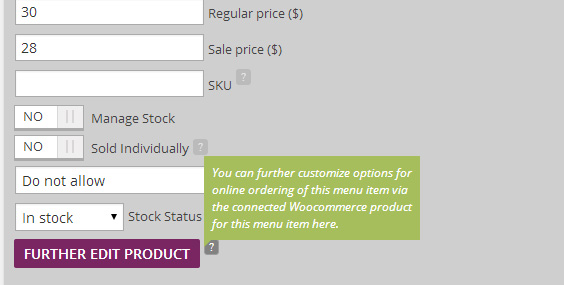
Fill out all of the options you want to use for the Online Ordering section and then update or publish your Menu item. Once you do this, you will see a new button displayed in the ‘Price & Online Ordering’ section stating, ‘Further Edit Product’. Click it and let’s get started with these variables.
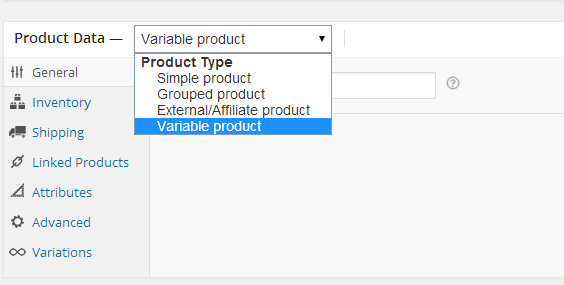
You have now been redirected the the actual WooCommerce page for the Menu Item. Pretty cool huh? You will a few options, but let’s focus on the dropdown that says ‘Simple Product’, and drop the menu down and select ‘Variable Product’.
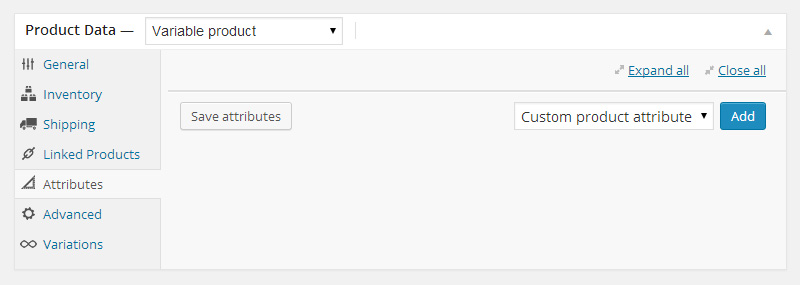
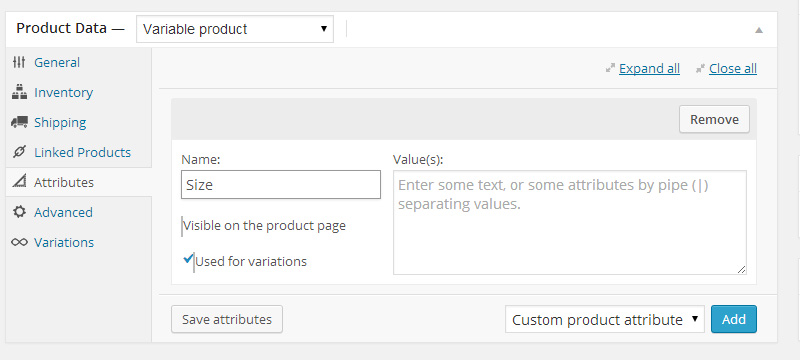
Now on the left hand side of links in that window, click on the option ‘Attributes’, and then on the right side there should be a button labeled Add next to the dropdown, ‘Custom product attribute’, click that blue button!
The first thing I do here is to make sure I click the option that says ‘Used for Variations’, that way we don’t get lost and forget to do it before we leave this section. Now let’s Name our Variation, I will call it ‘Size’ for this example.
We will now need to also enter the values for this Variation, in the text box to the right. You will need to format your variations the following way to make them work. (using the pipe separator)
[code]Small | Medium | Large | X-Large[/code]
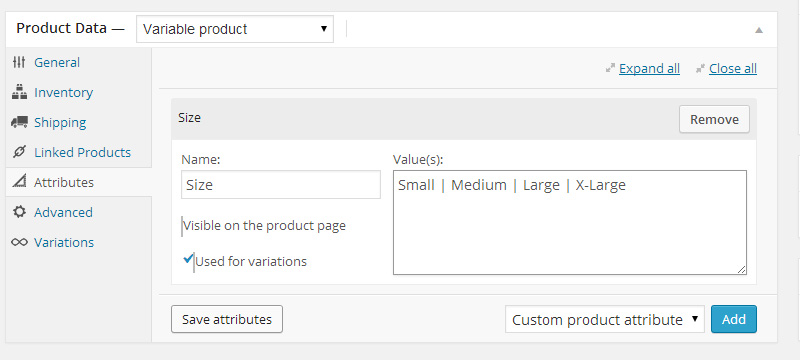
Now that you have entered your Variation, let’s hit the ‘Save Attributes’ button to make sure the values are saved.
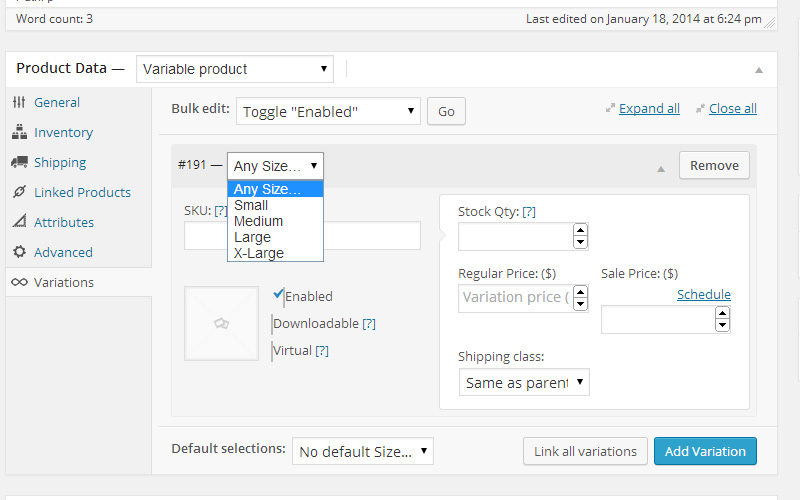
Alright, let’s click on the ‘Variations’ link and you will now see a Blue Button that says ‘ Add Variation’, let’s click that and you will be given multiple options for your Sizes. Now click on the Drop Down menu where it shows your variations, in this example it will say ‘Any Size’.
Let’s choose size ‘Small’ from the drop down and begin to give this Variation it’s values. Once you are done you can hit the Update button on the page to save your progress.
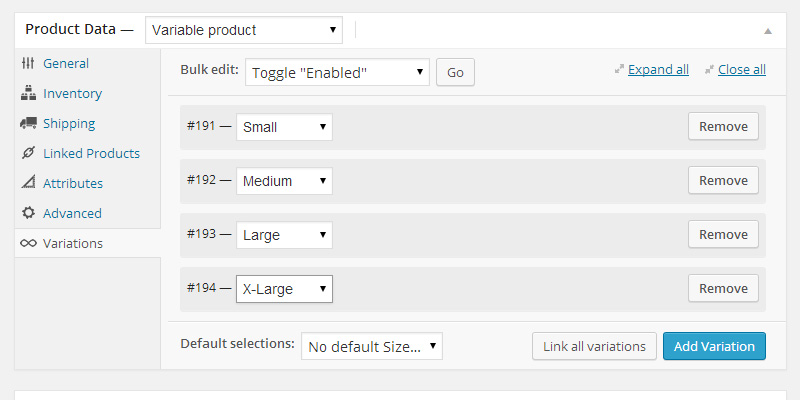
If you want to add the prices and values for the other three values, Medium, Large and X-Large, just click on the blue button that says, ‘Add Variation’ and you will be given another section to complete with it’s values the same way you did above. Notice, from the drop down, you must select which variable you want to use. When you are all done with this example, you should see the (4) variations on this screen, and their options as you want them.
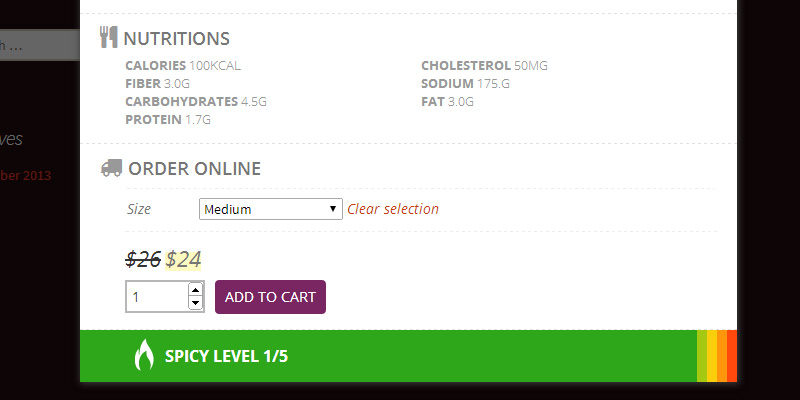
Check the front end of your website and click on the Menu Item that you just saved the Variations for. You will now see that once you click on the ‘Order Online’ button, your variation will appear, with the dropdown values we just made. Click through each option and you will see the price should be reflected below with that coordinating variation value. That’s it, if you want to add different types of Variations, just start this process over and make sure to set the new Attribute with the (Pipe separators) and save that attribute before you make the new variations. You can have an many attributes and variations that you want.
Are you stuck or having issues with foodpress plugin? not to worry drop us a line on our support forum or search for topics related to your issues thats already answered for quick solutions.